Since this is the year to cross to-do items off my list, the living room has become the main target right now. It is the room we spend the most time in, entertain guests in, and it just needs to be updated. After seeing 'revere pewter' Benjamin Moore paint on my friend Wendy's wall, I decided that will be the color for our living room. Either 'white dove' or 'vanilla milkshake' will be the trim color. Then I picked out the ceiling color as well (can't remember the color right now), and I was ready to begin. BUT, if I am going to invest all that time, energy, and money into painting the living room, the stomp ceiling has got to go!
So, today I decided to tackle the small hallway that runs between the living room and the kitchen. It is a small space that would allow me to practice and if I decided it was not worth it, I could easily bail. :-)
I've been dabbling a little the past couple of days to see how easily the sharp pieces of the ceiling would scrape off, what kind of mess I was looking at, etc... It seemed like it might be okay so today I went for it. Erich took the 3 kids to Six Flags and I set to work.
Here is what a stomp ceiling looks like...

Erich helped me gather my supplies...a squirt bottle filled with warm water, breathing mask, scraper, safety glasses, a chair, drop cloth, and a large sponge.
It is hard to get a good picture of the hallway ceiling. This is the best I could do...
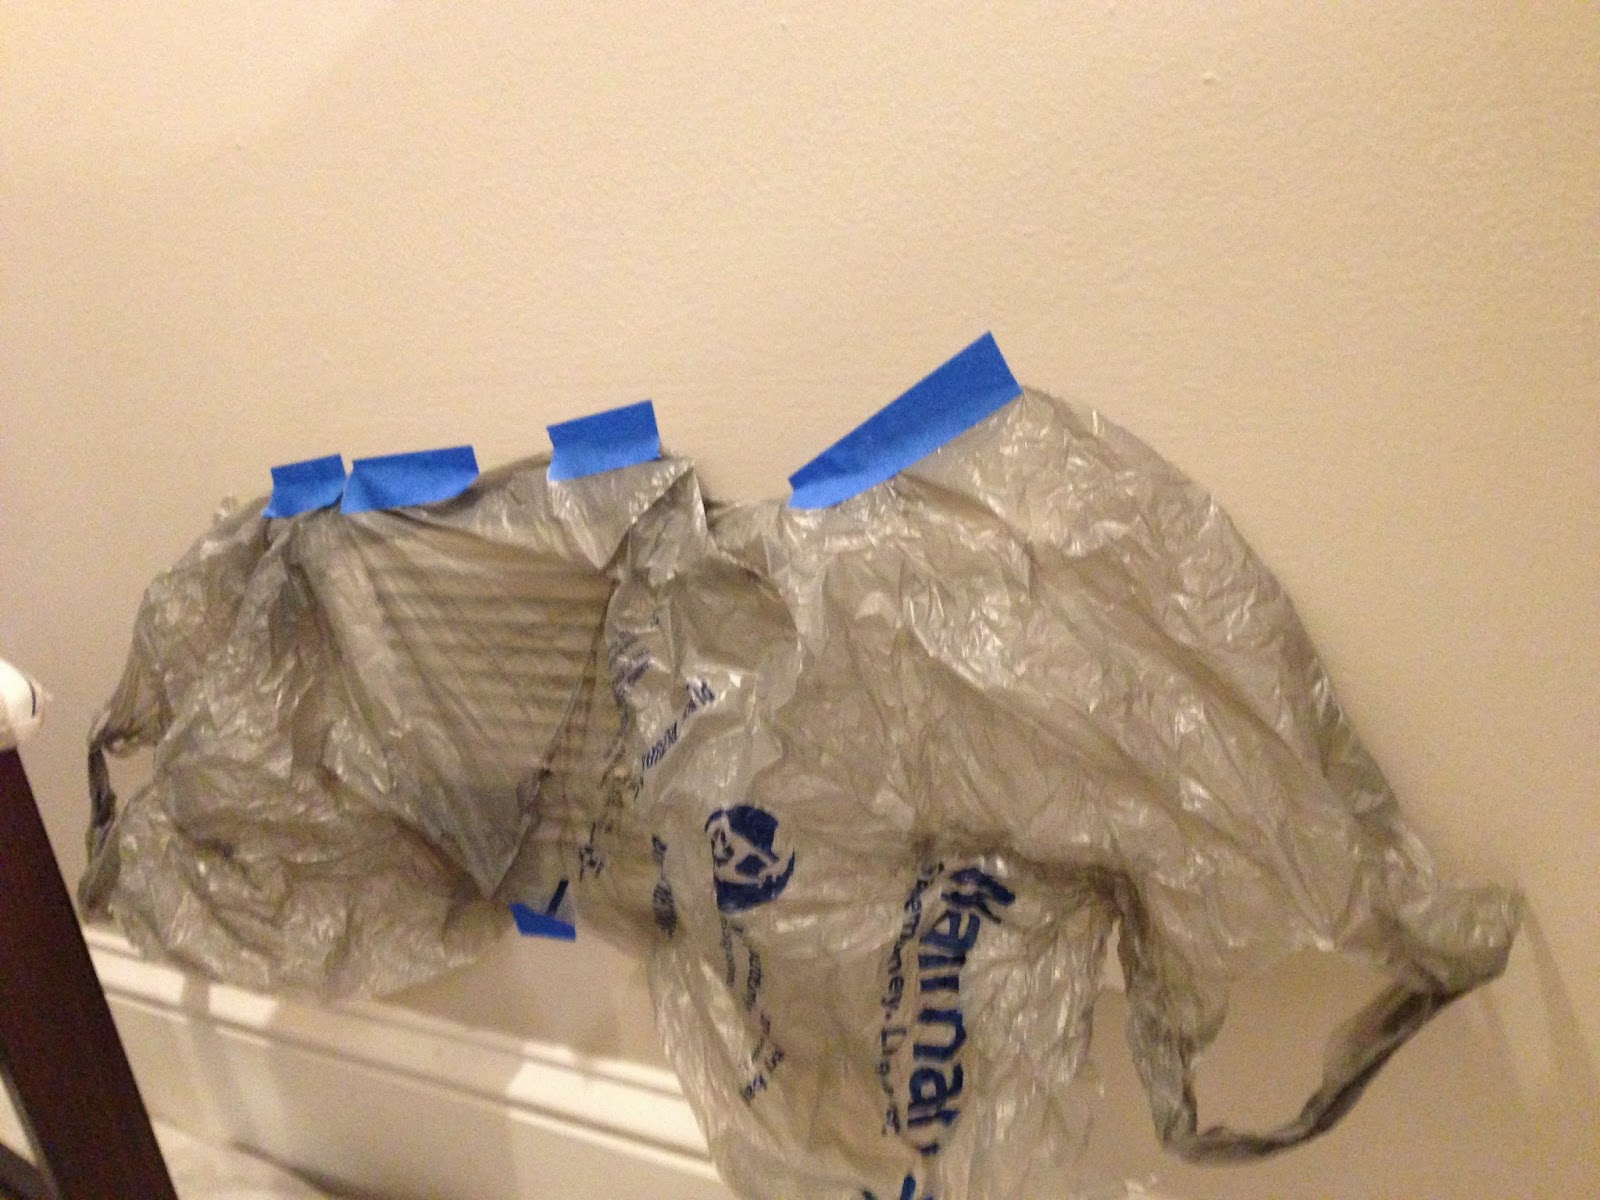
I turned off the HVAC system, covered up the hallway vent with plastic, put on my safety gear, and got started.


My method was to spray the ceiling with water and then scrape the sharp points off. I was careful not to go too deep and I also was careful to keep the scraper at a good angle that would not gouge the drywall. This was a very messy job. Gobs of joint compound fell to the floor, but having a drop cloth made clean up a breeze! After I finished scraping, I went back and double checked to make sure I didn't miss any spots.
Then I wet the sponge with warm water (squeezed out a little) and I gently rubbed the remaining texture around to smooth out the existing joint compound. I decided ahead of time that I really don't want to skim and sand because that is just too messy and painful. So, I am okay with a little texture as long as those sharp ugly points are gone. I think this was a success...I'll see for sure after the ceiling dries. This picture compares the hallway ceiling to the living room ceiling. The hallway ceiling looks dirty but it isn't. It is just wet and little parts of the drywall came through on some spots. I'll take another picture after it dries.


This picture shows the ceiling, all finished with scraping and sponging. All ready to be primed...
Time to rest...my neck hurts from looking up for so long.


Thanks for sharing! Were able to complete the job and can you post pictures of the finished project? I just brought a house and have these horrid ceilings in every room. I was told that you can put a layer of drywall on top and avoid the mess. But it's expensive, I was quoted 2200 just for the first level of my home, and I have 3.
ReplyDeleteI have decided mine look like beautiful daisies. I'm going to add a dark button in the center and golden petals and live with it HAH
DeleteThanks for sharing! Were able to complete the job and can you post pictures of the finished project? I just brought a house and have these horrid ceilings in every room. I was told that you can put a layer of drywall on top and avoid the mess. But it's expensive, I was quoted 2200 just for the first level of my home, and I have 3.
ReplyDelete