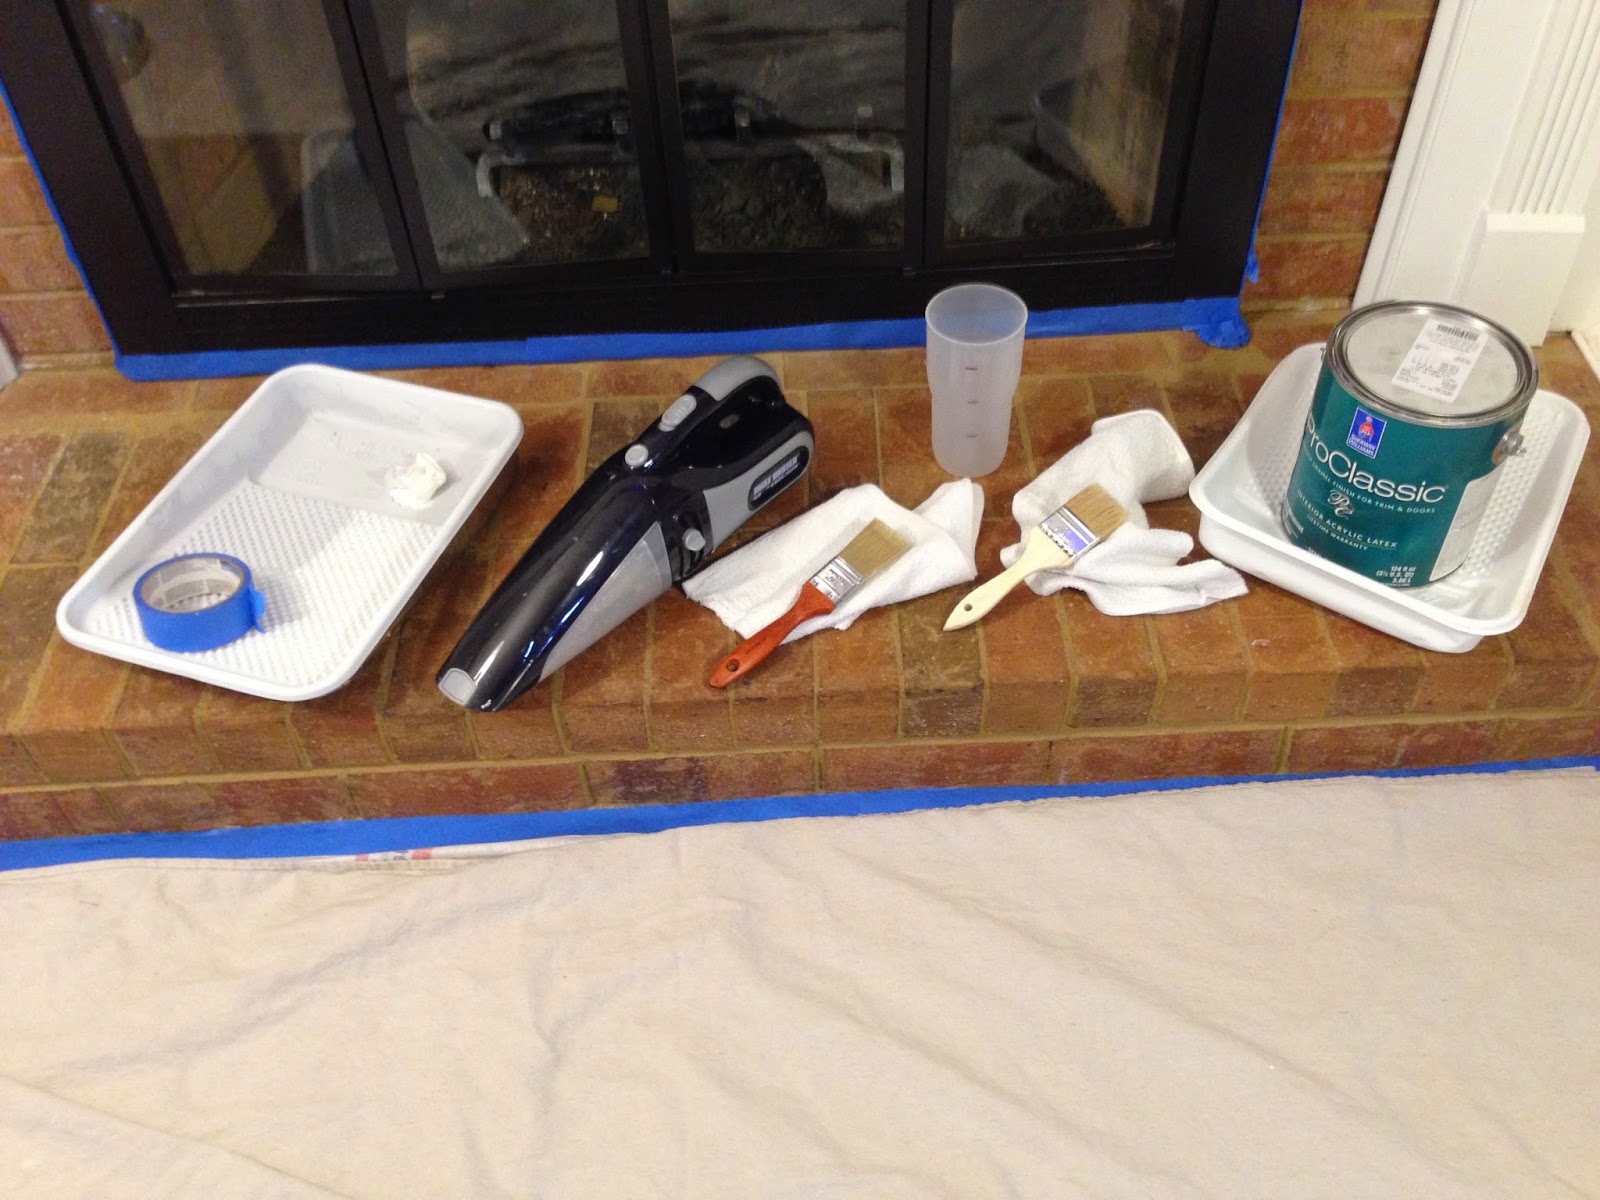
We gathered the supplies, prepped the area, Erich popped the cork on some champagne for us, and we were off to work! For both fireplaces we used a semi-gloss Sherwin Williams paint. Any white should do. Susan bought a gallon in her trim color because she wants to touch up her trim. I used some of her paint for my brick as well.
.

My brick was a little different than Susan's brick. It seemed rougher in some way and was harder to get the paint evenly on the bricks and into the grout areas. We ended up using one of the kids paint brushes (I need to add that to the list of things to buy at the store because we are out of kid brushes now) to paint the tough areas. That worked like a charm! We had to rub my brick quicker than Susan's brick. We only painted 3-5 bricks on my fireplace and then rubbed and dabbed. We also changed the ratio of paint and water. We did 1 cup of paint and 2 cups of water. It just looked too thick when we only had 1.5 cups of water. So if you do this on your brick, play around with the ratio to get the look you desire.
Let me tell you, it is so scary to paint brick! I was nervous once again but Susan has a 'let's do this' way about her. There really was not enough time to be too scared because when I looked over at her to ask if we really should be doing this, she was already painting! So I jumped in and once again, it turned out better than imagined. My entire fireplace renovation cost me $12 - the best money I have spent in a long time!


No comments:
Post a Comment