Monday, January 5, 2015

Stomp Ceiling - Living Room Decision

After injuring my neck and back on a very small hallway stomp ceiling that I worked on for 2 1/2 or 3 hours, and still having texture on the ceiling, I was at a point where I had to decide if it was worth smoothing out the rest of the ceiling or living with a little texture in my life.  I was thinking that a little texture might not be a bad thing and I was prepared to accept it.  I was also prepared for more neck and back strain to scrape the living room ceiling (although I was really NOT looking forward to the terribleness that I knew awaited me).  When Susan was here helping me with the fireplace she said 'you have to get rid of the texture.  It looks like water damage.  Why go through all this trouble to make it look just okay.  Let's do it right!  We can mud and sand it down.'  I knew she was right...and I knew she wasn't going to back down (which I love!).  Last night I began watching 'how to mud drywall ceiling' videos and I watched really cool dustless sanding techniques.  I was working my way up to really wanting to do the extreme amount of work that flat ceilings require.


My FB friend Cristi (who knows her stuff - she is on the HGTV show 'Elbow Room') warned me that 1/4 inch drywall over the existing ceiling or demolishing the current ceiling and putting up a new ceiling was the way to go with stomp texture.  I guess I can be stubborn sometimes because I still attacked the ceiling by scraping and rubbing with the wet sponge.  Maybe I was dreaming of discovering a previously unknown technique that would soon be featured on HGTV (just kidding, sort of).  My sweet husband who just doesn't care one way or other about the ceilings just bit his lip and let me experiment with my dream of smooth ceilings.


I have a great resource in my life - someone with an engineer's mind who is a true DIY-er.  When I was a kid he watched 'Bob Vila' and 'This Old House' and all of these 'boring' TV shows (boring to my 8 year old self).  He had me on our rooftop with a hammer, helping him re-shingle the house when I was 10.  My mom had to be careful about what she complained about around the house because if she, in a contemplative/dreaming state of mind only, suggested the possibility of taking down a wall, my dad would go get a sledge hammer and take the wall down. 


He finished the basement of the house I grew up in all by himself (well he had me...shoulders slumped, sad look on my face, half-heartedly helping him).  He tore down and put on a new complicated deck, built a 'Romeo and Juliet' style balcony off the master bedroom for my mom (because she said 'what do you think about doing a balcony?'), gutted and re-built two bathrooms in my house with Erich, finished our basement with Erich, and an almost infinite amount of other things.  He just put in these awesome iron double doors at his house (they really look great), and he buys fixer-upper houses and completely renovates them.  He assembles a great team and does a beautiful and ethical job so anyone who buys one of his houses is a lucky person!


Anyway, I talked to my dad about my ceiling dilemma and he immediately said 'either put up 1/4 inch drywall over your current ceilings or tear the ceilings down and put up new ones.'  So today I timidly texted him to ask if he would help me (but not do it for me because I REALLY want to learn).  My dad called a few minutes later and said 'sure I'll help you. When do you want to start?'  I said 'well I'm leaving town for a week on Friday so how about next Saturday?'  My always energetic and project loving dad said 'how about tomorrow?'  HAHA!!!  Turns out he was serious. 

So, we start operation 'stomp ceiling demolition' tomorrow at 4pm (sharp, he's punctual and so am I).  Susan and Chris are coming over to help - I am so grateful to have such good friends!  I'm looking forward to getting through this project and helping them with some of their renovations as well!

Sunday, January 4, 2015

Jen's Fireplace Makeover - Part 2 (Whitewash)


After seeing such fantastic results on Susan's fireplace, I was ready to paint my own!  We picked up where we left off last night...Susan came over to my house tonight so that we could whitewash my brick.  As I said in the last post, I've wanted to do this for years!


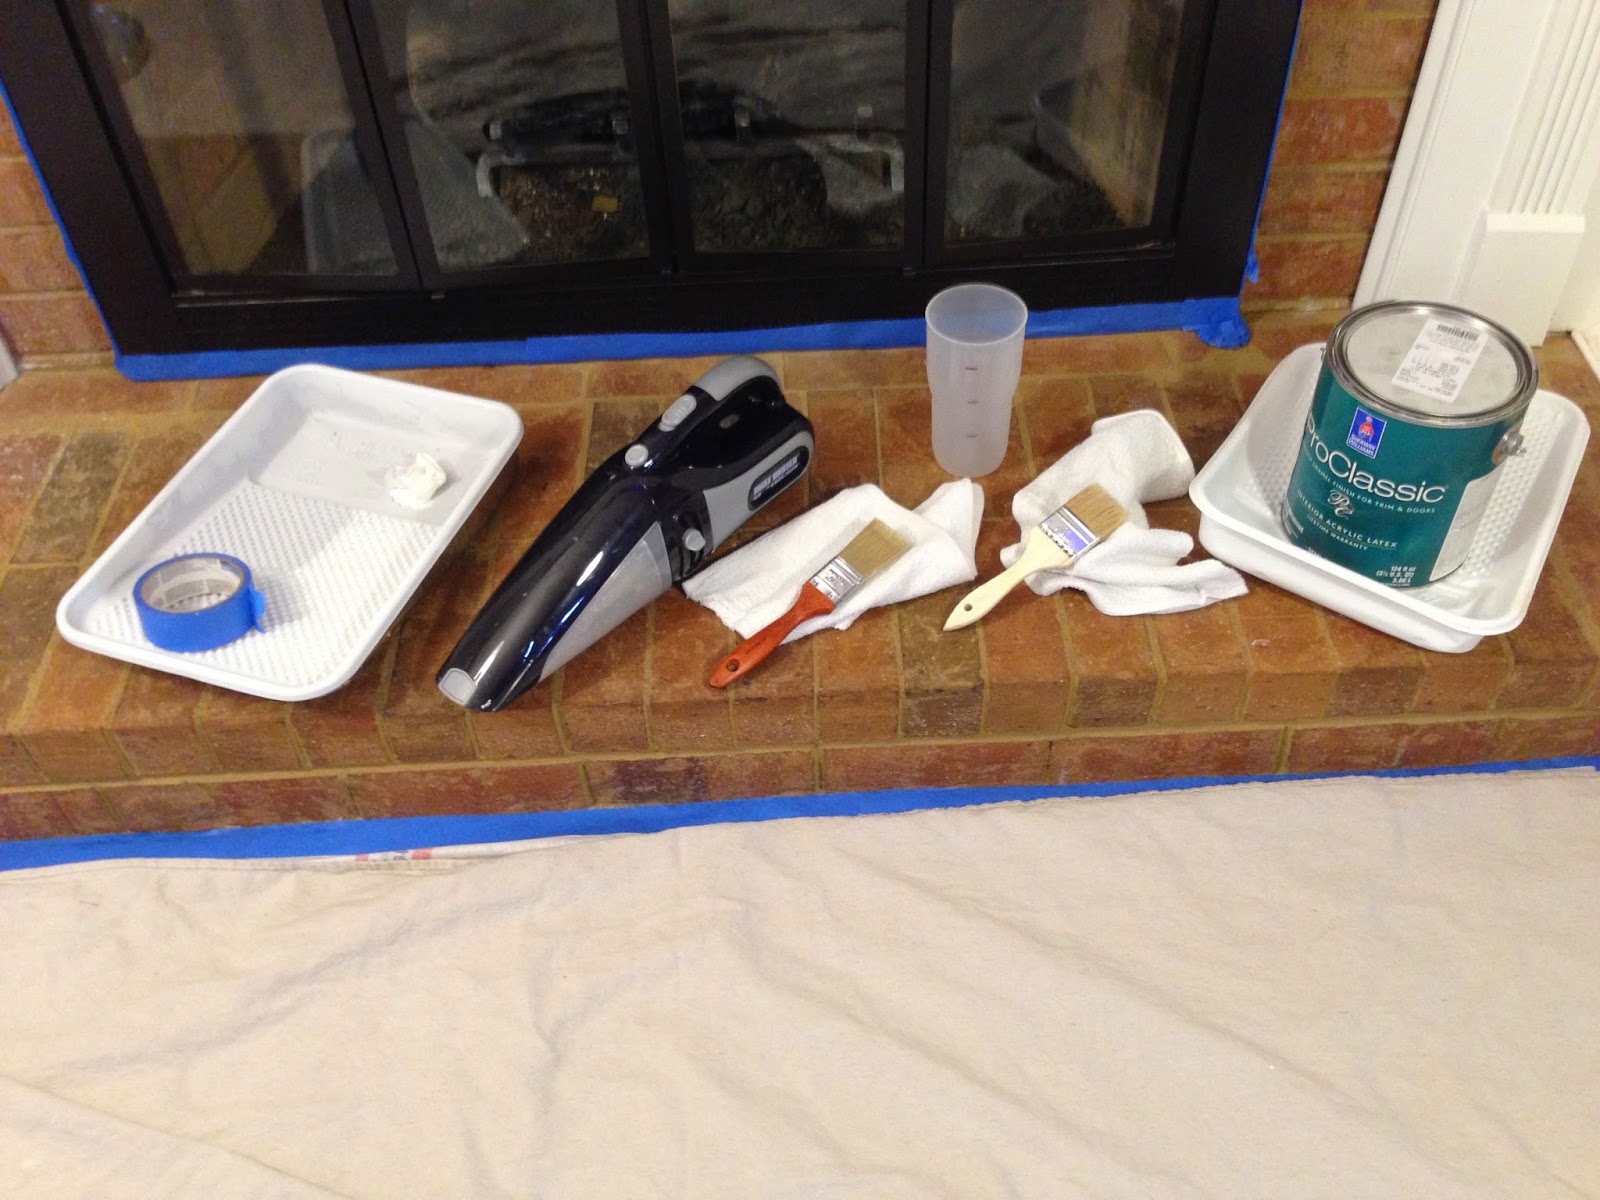
We gathered the supplies, prepped the area, Erich popped the cork on some champagne for us, and we were off to work!  For both fireplaces we used a semi-gloss Sherwin Williams paint.  Any white should do.  Susan bought a gallon in her trim color because she wants to touch up her trim.  I used some of her paint for my brick as well.
.


My brick was a little different than Susan's brick.  It seemed rougher in some way and was harder to get the paint evenly on the bricks and into the grout areas.  We ended up using one of the kids paint brushes (I need to add that to the list of things to buy at the store because we are out of kid brushes now) to paint the tough areas.  That worked like a charm!  We had to rub my brick quicker than Susan's brick.  We only painted 3-5 bricks on my fireplace and then rubbed and dabbed.  We also changed the ratio of paint and water.  We did 1 cup of paint and 2 cups of water.  It just looked too thick when we only had 1.5 cups of water.  So if you do this on your brick, play around with the ratio to get the look you desire.


Let me tell you, it is so scary to paint brick!  I was nervous once again but Susan has a 'let's do this' way about her.  There really was not enough time to be too scared because when I looked over at her to ask if we really should be doing this, she was already painting!  So I jumped in and once again, it turned out better than imagined.  My entire fireplace renovation cost me $12 - the best money I have spent in a long time!

Susan's Fireplace Makeover

Susan and I both made the decision to whitewash our brick fireplaces.  I know there is controversy about whether that is a good idea or not as it is an irreversible decision!  Not one to take lightly.  I have wanted to whitewash my brick fireplace for years now but never really had the nerve to do it.  Susan recently decided to whitewash her fireplace so we decided to just jump in and whitewash them both!  We decided that if we really didn't like the results, we could replace or cover up the painted brick with stone.


Always make sure you get a good 'before' picture....we got so excited we forgot to take a nice picture before we started painting.  This is Susan's fireplace before whitewashing.


Susan bravely offered her fireplace as the first one that we would paint.  So last night I went to her house after I put the toddler to bed and we got busy.  I was so nervous that my hand was shaking.  She was strong and ready and her confidence in us gave me the boost I needed to jump in.  Her sweet husband Chris got the wine flowing for us...which always helps!  Then he headed down to the basement to watch football.


We turned on HGTV so we could listen while we worked.  Somehow it felt nice to know that someone else was working on projects too.  We taped up the black part of her fireplace, got our paint can, brushes, mixing cup, spotlights, and rags out.  We also had drop cloths and made sure to tape the area where the brick met her carpet really well.  We mixed a ratio of about 1 cup of paint and 1.5 cups of water.  We stirred it up really well and then brushed the mixture onto a 'practice brick'  - just an extra brick she had lying around.  We rubbed it off right away but thought it was too light so we changed our game plan and decided to do several bricks at a time before 'dabbing' the brick with a cloth.  Susan painted the first real brick and then I jumped in.


We had a blast!!!  We were so giddy and laughing hysterically about the fact that we were actually painting brick!  Wondering if we made a huge mistake.   It took a bit of trying out different techniques but eventually we set on brushing paint on 8-10 bricks and then going back to dab at those bricks with our rags until it had a really neat look to it.  We finished the entire fireplace in about an hour.  Maybe a little more - I'm not sure.  It was so fun that I lost track of time.


It turned out way better than we imagined it would...so elegant, inviting, and lovely!  Just the kind of atmosphere she wants in her living room. 

Saturday, January 3, 2015

Stomp Ceiling Removal

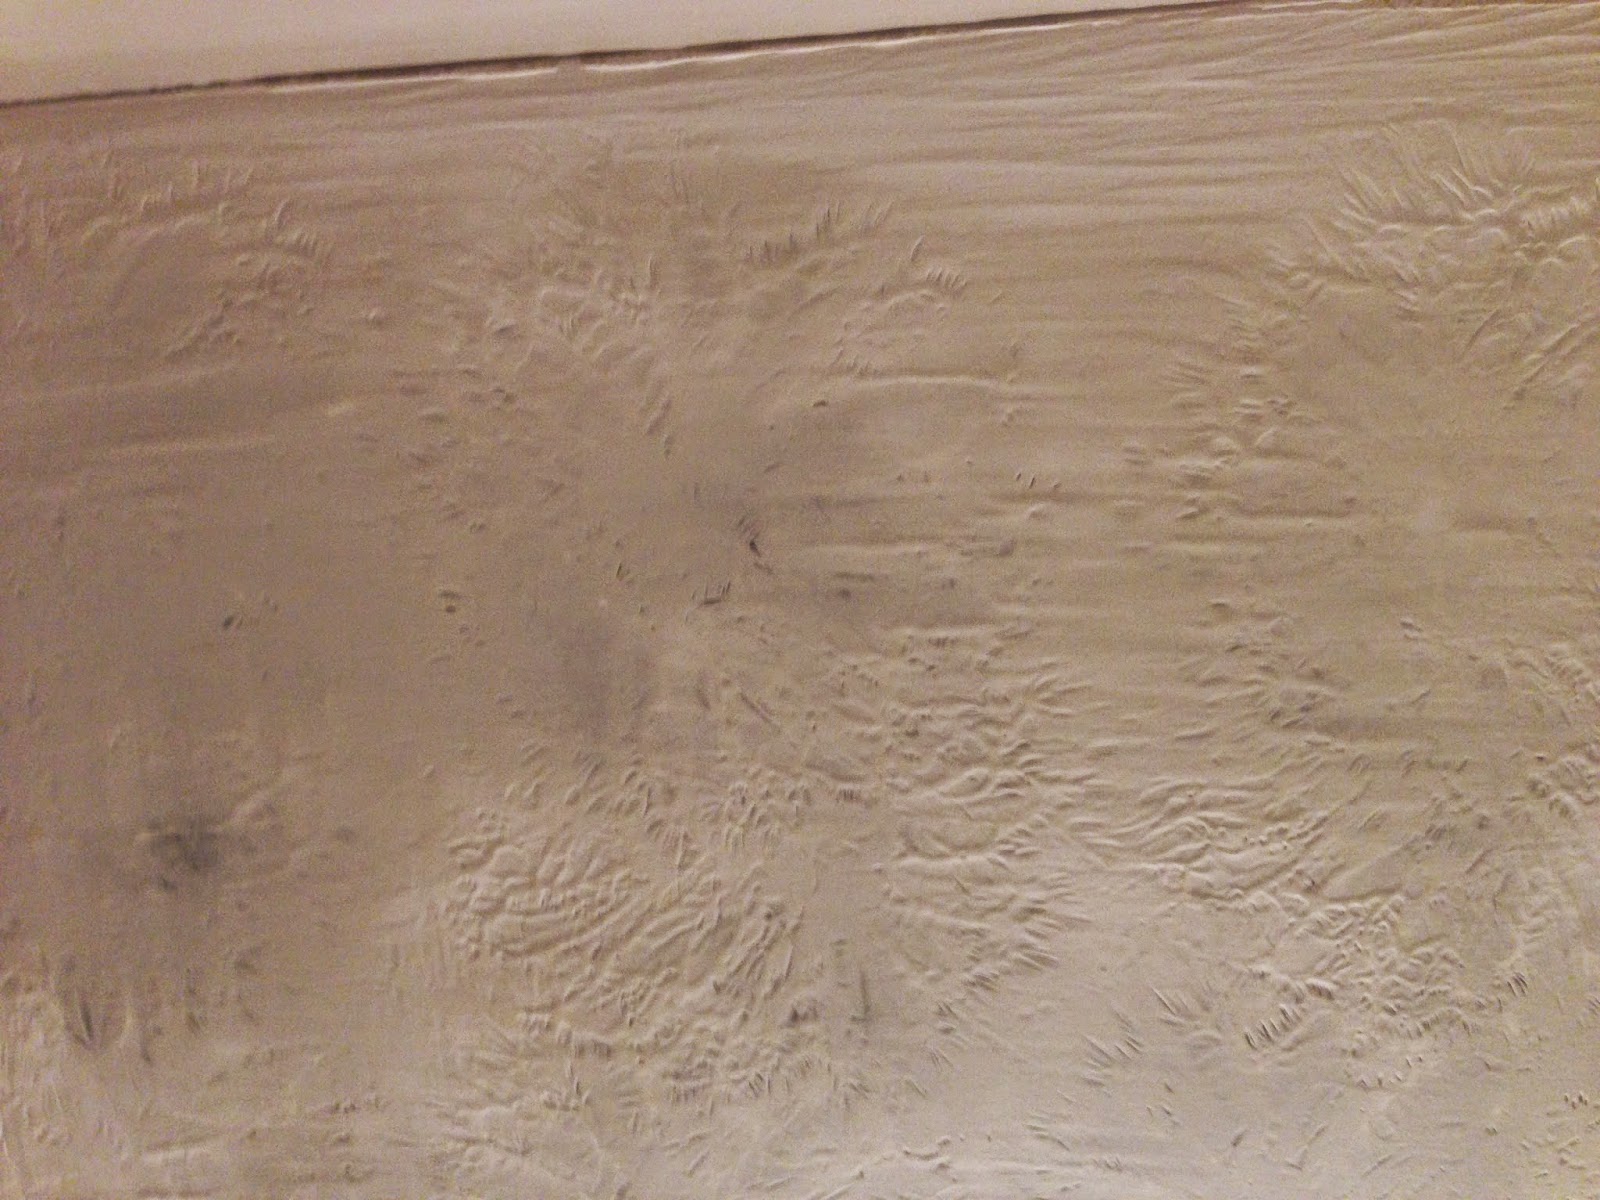
Somehow I did not notice the stomp ceilings when we first moved into this house.  As soon as I finally did notice them, I began to despise them.  They do not bother Erich at all but they have become super offensive to me.  When I began to research how to remove them, I soon discovered that I was searching for the wrong term - I was looking for 'popcorn ceiling' removal techniques.  While popcorn ceiling is not fun to remove, it is easier to remove than stomp ceilings.  Popcorn ceiling will come off cleanly while stomp ceiling does not.  Stomp ceiling has a 'starburst' pattern to it and is hard to make smooth.  The builder had a mop-like tool that they dipped in joint compound and then pushed up onto the ceiling and turned it in a circular pattern.  Probably super awesome and desirable in the 80's.

Since this is the year to cross to-do items off my list, the living room has become the main target right now.  It is the room we spend the most time in, entertain guests in, and it just needs to be updated.  After seeing 'revere pewter' Benjamin Moore paint on my friend Wendy's wall, I decided that will be the color for our living room.  Either 'white dove' or 'vanilla milkshake' will be the trim color.  Then I picked out the ceiling color as well (can't remember the color right now), and I was ready to begin.  BUT, if I am going to invest all that time, energy, and money into painting the living room, the stomp ceiling has got to go! 

So, today I decided to tackle the small hallway that runs between the living room and the kitchen.  It is a small space that would allow me to practice and if I decided it was not worth it, I could easily bail.  :-)

I've been dabbling a little the past couple of days to see how easily the sharp pieces of the ceiling would scrape off, what kind of mess I was looking at, etc... It seemed like it might be okay so today I went for it.  Erich took the 3 kids to Six Flags and I set to work.

Here is what a stomp ceiling looks like...


Erich helped me gather my supplies...a squirt bottle filled with warm water, breathing mask, scraper, safety glasses, a chair, drop cloth, and a large sponge.


It is hard to get a good picture of the hallway ceiling.  This is the best I could do...


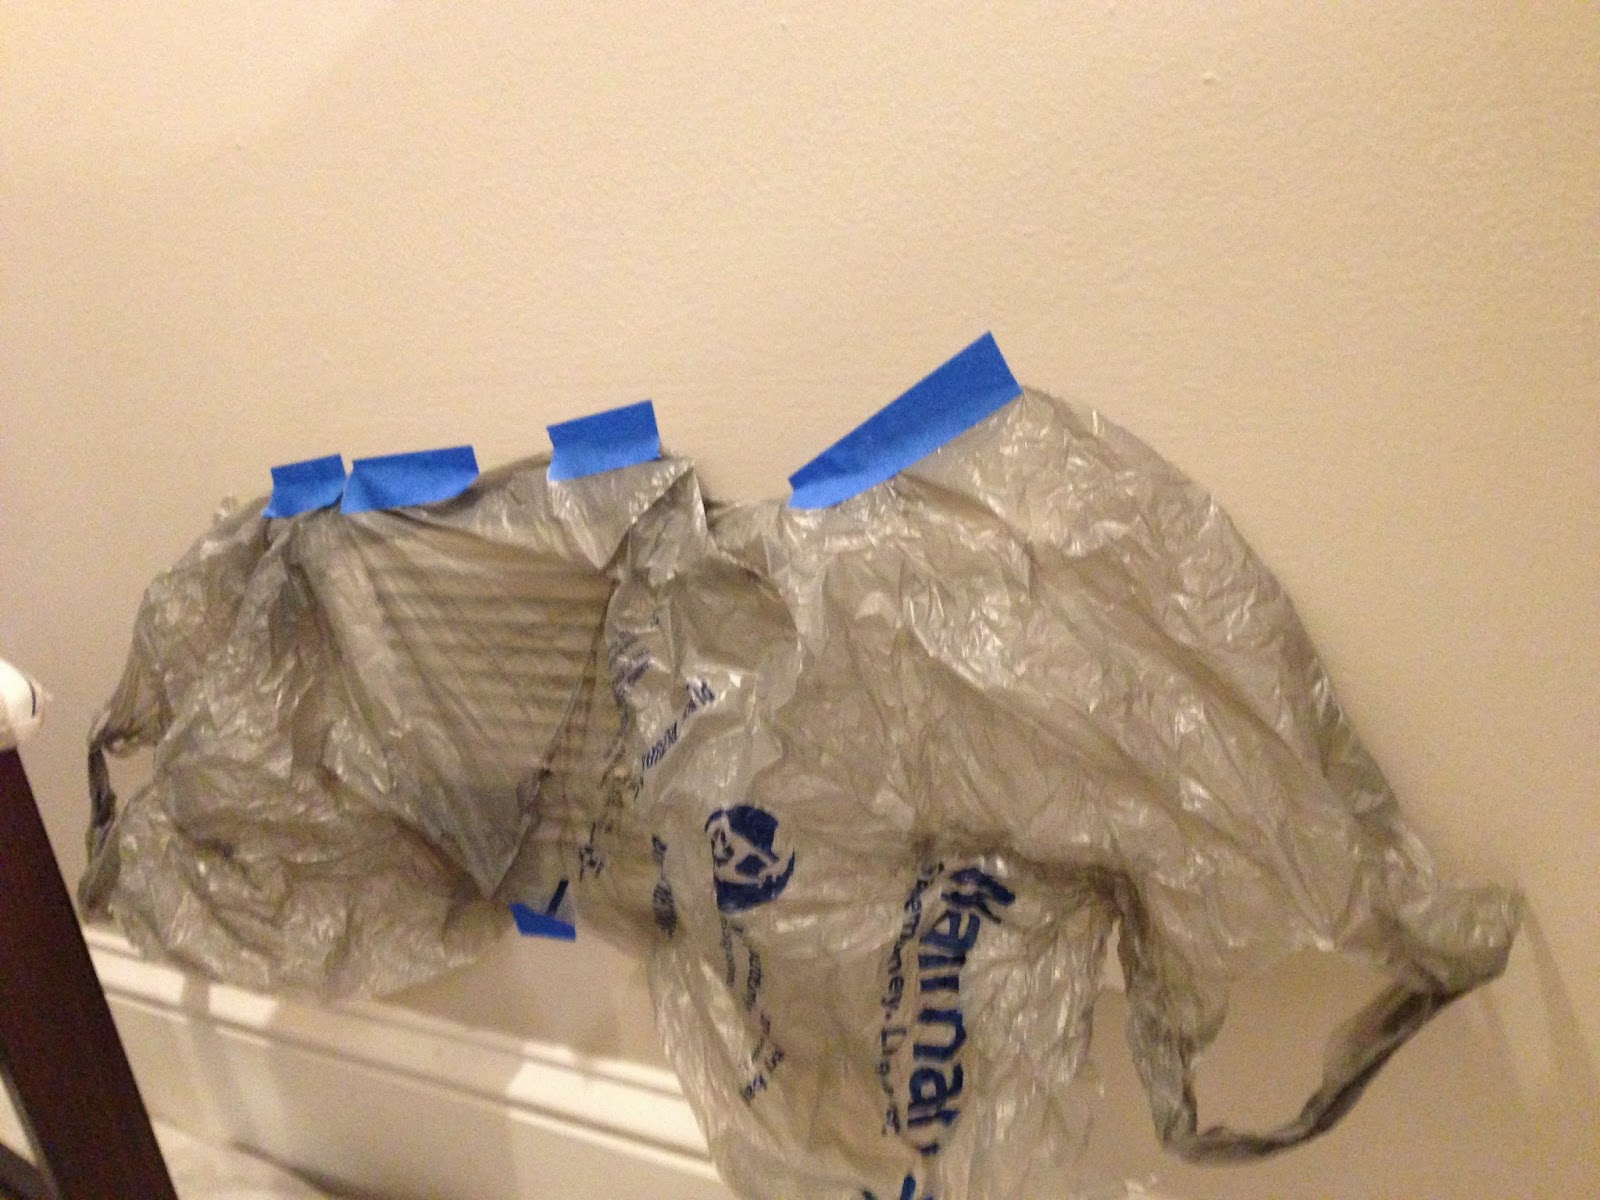
I turned off the HVAC system, covered up the hallway vent with plastic, put on my safety gear, and got started.


My method was to spray the ceiling with water and then scrape the sharp points off.  I was careful not to go too deep and I also was careful to keep the scraper at a good angle that would not gouge the drywall.  This was a very messy job.  Gobs of joint compound fell to the floor, but having a drop cloth made clean up a breeze!  After I finished scraping, I went back and double checked to make sure I didn't miss any spots.
 
Then I wet the sponge with warm water (squeezed out a little) and I gently rubbed the remaining texture around to smooth out the existing joint compound.  I decided ahead of time that I really don't want to skim and sand because that is just too messy and painful.  So, I am okay with a little texture as long as those sharp ugly points are gone.  I think this was a success...I'll see for sure after the ceiling dries.  This picture compares the hallway ceiling to the living room ceiling.  The hallway ceiling looks dirty but it isn't.  It is just wet and little parts of the drywall came through on some spots.  I'll take another picture after it dries.


This picture shows the ceiling, all finished with scraping and sponging.  All ready to be primed...


Time to rest...my neck hurts from looking up for so long.


Jen's Fireplace Makeover - Part 1 (Painting Brass)

I started painting my fireplace on January 1 and I was so nervous! When I put that first coat on, it didn't cover the brass very well and I thought maybe I had ruined the fireplace!  Susan encouraged me over the phone - she said 'That brass has got to go.  Anything would be better than the brass!'  So I kept on going, trusting that each coat was going to do a better job than the previous one.  I'm glad that I did.  I put the final coat on last night at 10:30 pm (for a total of 5 coats).  It turned out so much better than I even imagined that it would!  Not a drop of black paint got on the glass or the surrounding brick, which was a big fear of mine.  The hardest part was convincing the baby that I really didn't need any help.

Here is how I did it...
I went to Home Depot on 12/31 and bought 'High Heat Rust-oleum' in Black Satin color ($7).  I also bought disposable foam brushes for $.67 a piece ($5).  I already had high quality painter's tape and a drop cloth.


Using the painter's tape, I taped off the surrounding brick and the glass. This part took a long time because I wanted to be sure that I didn't get any black paint on these places.


Then I laid on the brick hearth some Trader Joe's brown paper bags (that I cut to lie flat), put down the drop cloth, set up a spot light, took a giant deep breath (I was so nervous), and I began to rub the paint on all of the brass parts.


The first coat looked like a toddler rubbed a black marker all over the fireplace.  I began to question my abilities but had no choice but to keep going...


I only waited about 4 hours before I applied the second coat.  The paint was still a little sticky from the first coat so the second coat smeared around a lot.  I decided to wait much longer for future coats.  This is the second coat.


The next morning I woke up and put on a third coat at 9am.  It was getting better but I could still see brass.


I put on the fourth coat around 3pm.  It was looking great! I was just hoping that I had covered the brick and glass well so I didn't have black paint in undesirable places.


At 10:30pm I applied the 5th and FINAL coat!  I took a tiny paintbrush from my kids' art set and used that to get a few brass pieces that were hard to reach with the foam brush.  A few minutes later I pulled the tape off and I was thrilled to find no black paint on the brick or the glass.
Success!  Next on my list - whitewash that brick!

Note added: if you do this to your own brass, be sure to rough it up with a brillo pad first.  I did not do that, but really should have.  I am hoping the paint stays on okay but if it doesn't, I have a plan in place to fix it.

Thursday, January 1, 2015

Ready, Set, Go!

From Jennifer:

Today is the first day of 2015.  I am so excited because this is the year that I plan to complete some of the nagging household projects.  What an overwhelming task!  It includes scrapping textured ceilings, tons of painting, installing new floors, and more!  I will be doing some of the work with Erich and some of it with my friend Susan.  I would be overjoyed if I could complete the main floor projects and exterior painting in 2015.

Today I'm going to begin by painting the brass on our fireplace.  It's annoyed me for years and not really tough to do.  It should take three days to complete (each coat needs 24 hours to dry and I'll do three coats).

Saturday, December 20, 2014

New Beginnings

Today my friend Susan and I (Jennifer) decided to begin a new project....several new projects actually.  We both have so many renovations around our houses that we need to begin or finish, and up until now we haven't had the resources or energy to get these projects completed.  Between the two of us, we have 2 husbands, 5 kids, 1 dog, 2 rats, and a snake.  We both send our kids to the same homeschool hybrid program two days a week.  We are busy moms - always on the go, yet we desire to make our houses warm, comforting, beautiful, and inviting for our families and our friends. 

There is a catch: we only have four hours a week to work on our projects while our kids are in school.  We also want to do this without spending a fortune, so we will lock arms and tackle our to-do lists together.  Work is always more fun when you have someone working along side you!

We have decided to each make a list of what projects we would like to complete in our own houses.  They are long lists, but we are going to prioritize those lists, and begin by tackling the easiest projects first.  We will take before/during/after photos and post our pictures and musings here so we can keep track of all we have done - it will be especially helpful to see our progress on those days where all we can see is what needs to be done.  :-)

Our first project will begin in January 2015 and will be installing a tile backsplash in Susan's kitchen.  Pictures coming soon!